PHOTOGRAPHY:
SKELETONS in the CLOSET

THEME: Skeletons in the CLOSET
What are some ‘secrets’ that are in your closet, metaphorically speaking. Using double exposure photography, tell us a story about secrets. Things that you don’t openly share, on a daily basis, with the public. Or maybe things that are taboo in our culture…
Requirements:
1. 3-5 double exposed photographs conceptually themed, “Skeletons in the closet”. 2. Can be black & white or digital.
Here are some examples of double exposure (however, not necessarily using the same theme):


2D & DRAWING:
OPTION A –
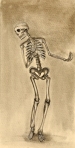
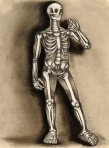
My AP Studio Art student’s work:


Process/Requirements:
1. You must use more than one section of the skeleton. 2. It must be anatomically correct and proportions MUST BE completely correct! (A reference photograph must be printed off and turned in with the final composition when graded.) 3. ELEMENTS of FOCUS – VALUE & FORM 4. PRINCIPLES of FOCUS – your choice.
Composition:
1. Seek out a dynamic composition. AVOID CENTER COMPOSITIONS! 2. Size must be larger than 10 x 13.
Medium/Media:
1. Anything but graphite!!!
***Because your subject matter, the skeleton, is already a given, think carefully about your medium. What I mean by that is – take some RISKS. Readers are looking for evidence of experimentation and GROWTH in Breath. Some different mediums to explore could be…
blue ball point pen…


or maybe color, watercolor or acrylic…


and why always use paper? why not use cardboard? (yes, I know these are not paintings of skeletons!)
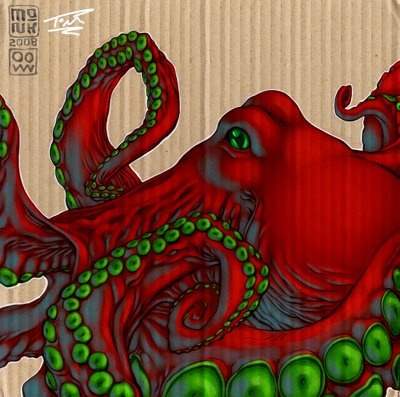


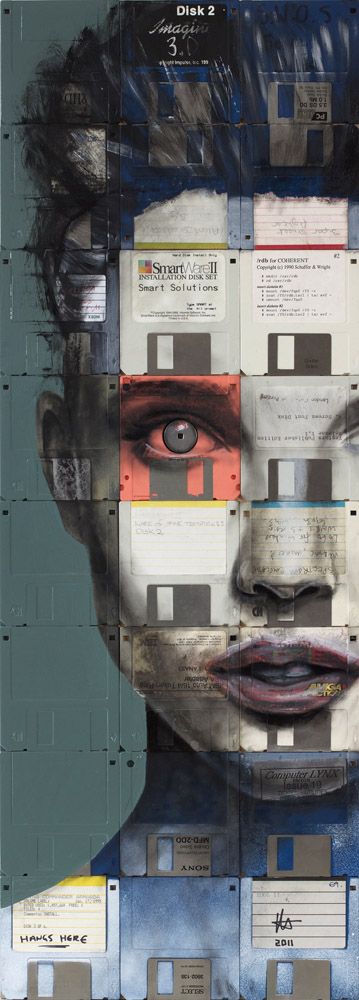
use textures collages into the work and then paint on it… gauze, fabric, netting, lace, floppy disks…
CHECK OUT: How to make your Art Project Exciting – Inventive use of Media for Painting (Part 1)
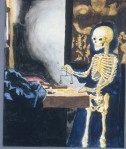
OPTION B:

This will be one of your very best Breadth assignments if you take your time getting the PROPORTION of the human body correct and get as much detail in the bones as you can. It’s been on of my very favorite lessons since the first time I did it with students because the results are AMAZING!
Process:
1. Choose a figure drawing, painting or sculpture by a master artist from before 1900. I’ll provide several examples and a stack of art history books that you can choose from.
I recommend that you choose a piece with only one figure and the less clothing they’re wearing the easier it will be to see their bone structure. The figure must be from the knees up, no portraits or images where a large portion of the body is hidden behind objects.
I need to approve* your chosen piece before you begin to be sure it will work. *I will not approve it without the following info:
•Artist’s Name:
•Title of the Piece:
•Media:
•Year it was made (approximate ok):
2. Sketch the figure in your chosen masterpiece lightly in vine charcoal and include the outline of clothes and skin, for now. At this point you should just focus on getting the PROPORTION of the figure correct. If it’s off it’ll be very bad later on when you start adding bones. I you accidentally make the torso too long (a common mistake) you can’t just add more spinal vertebrae or ribs to fill in the extra space!
3. Once your absolutely SURE you proportions are accurate, you can begin adding the bones inside the outline of the body. You may choose to leave the outline of the skin or clothing or erase it once the bones are done.
Pay close attention to how the bones fit inside the flesh, particularly when the bones are just under the surface of the skin and where there’s more flesh between the bones and the edge of the body.
You may use anatomy books, the skeletons in my classroom, the numerous skeleton handouts on the clipboards, or the internet as a visual reference for the bones. If you can’t find the exact pose you need, arrange the big skeleton in my room and take a photo of it so you can take it home with you!
Add as much detail in the skeleton as you can, but don’t go insane trying to get all the tiny bones in the hands and feet. Simplify where necessary. Be careful not to make the skull look like a Halloween skull- DON’T OUTLINE INDIVIDUAL TEETH! Just a thin line indicating where the top and bottom rows of teeth come together is sufficient.
4. Add some shading to the major bones- skull, pelvis, etc. with charcoal pencil. A subtle shadow on one edge of a thin bone like the ribs is good.
5. Add the BACKGROUND from your masterpiece to your drawing. You may not skip this part or oversimplify. If you’re working from a sculpture, try to get the base of the sculpture or make it look like it’s in a gallery or sculpture garden.
6. Lastly, add a little highlight to the bones by with a white charcoal pencil. Use it sparingly, however, or your bones may look metallic. Be very careful to only put the white charcoal on clean areas of your paper where there isn’t any black charcoal. If the black and white charcoal mixes they turn a very ugly grey- not pretty!
Click on Post below to see an AMAZING Dancing Skeletons video:
Here’s the same video without the song:
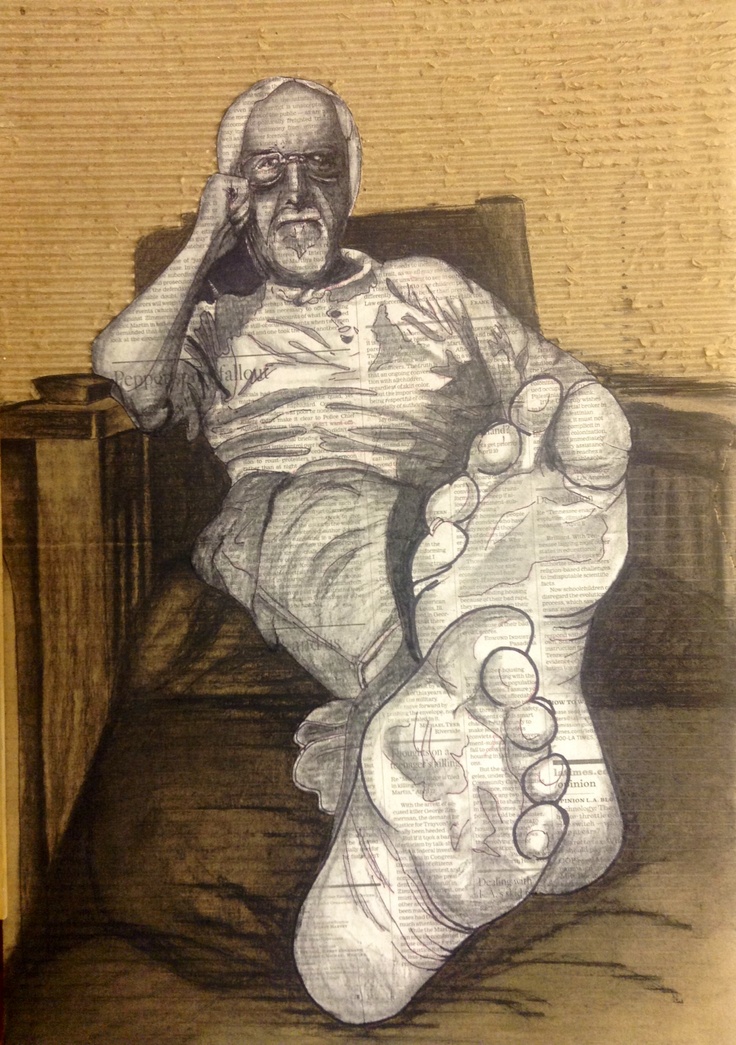
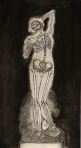
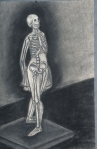
Examples without body outline or clothing from Carrie King’s AP Studio Art students:


Examples with body outline and clothing by Carrie King’s AP Studio Art students:


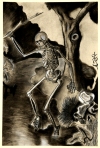
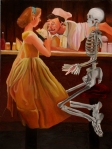
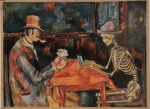
Some examples that include other figures (not additional skeletons) by Carrie King’s AP Studio Art students:


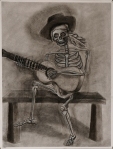
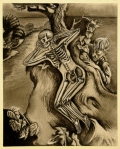
Varsity option:
Draw more than one skeleton OR work in Color. But be aware that this greatly increases the difficulty level!
Examples by Carrie King’s AP Studio Art students:


